How to Spray Paint a Straw Hat for a Stylish Makeover?
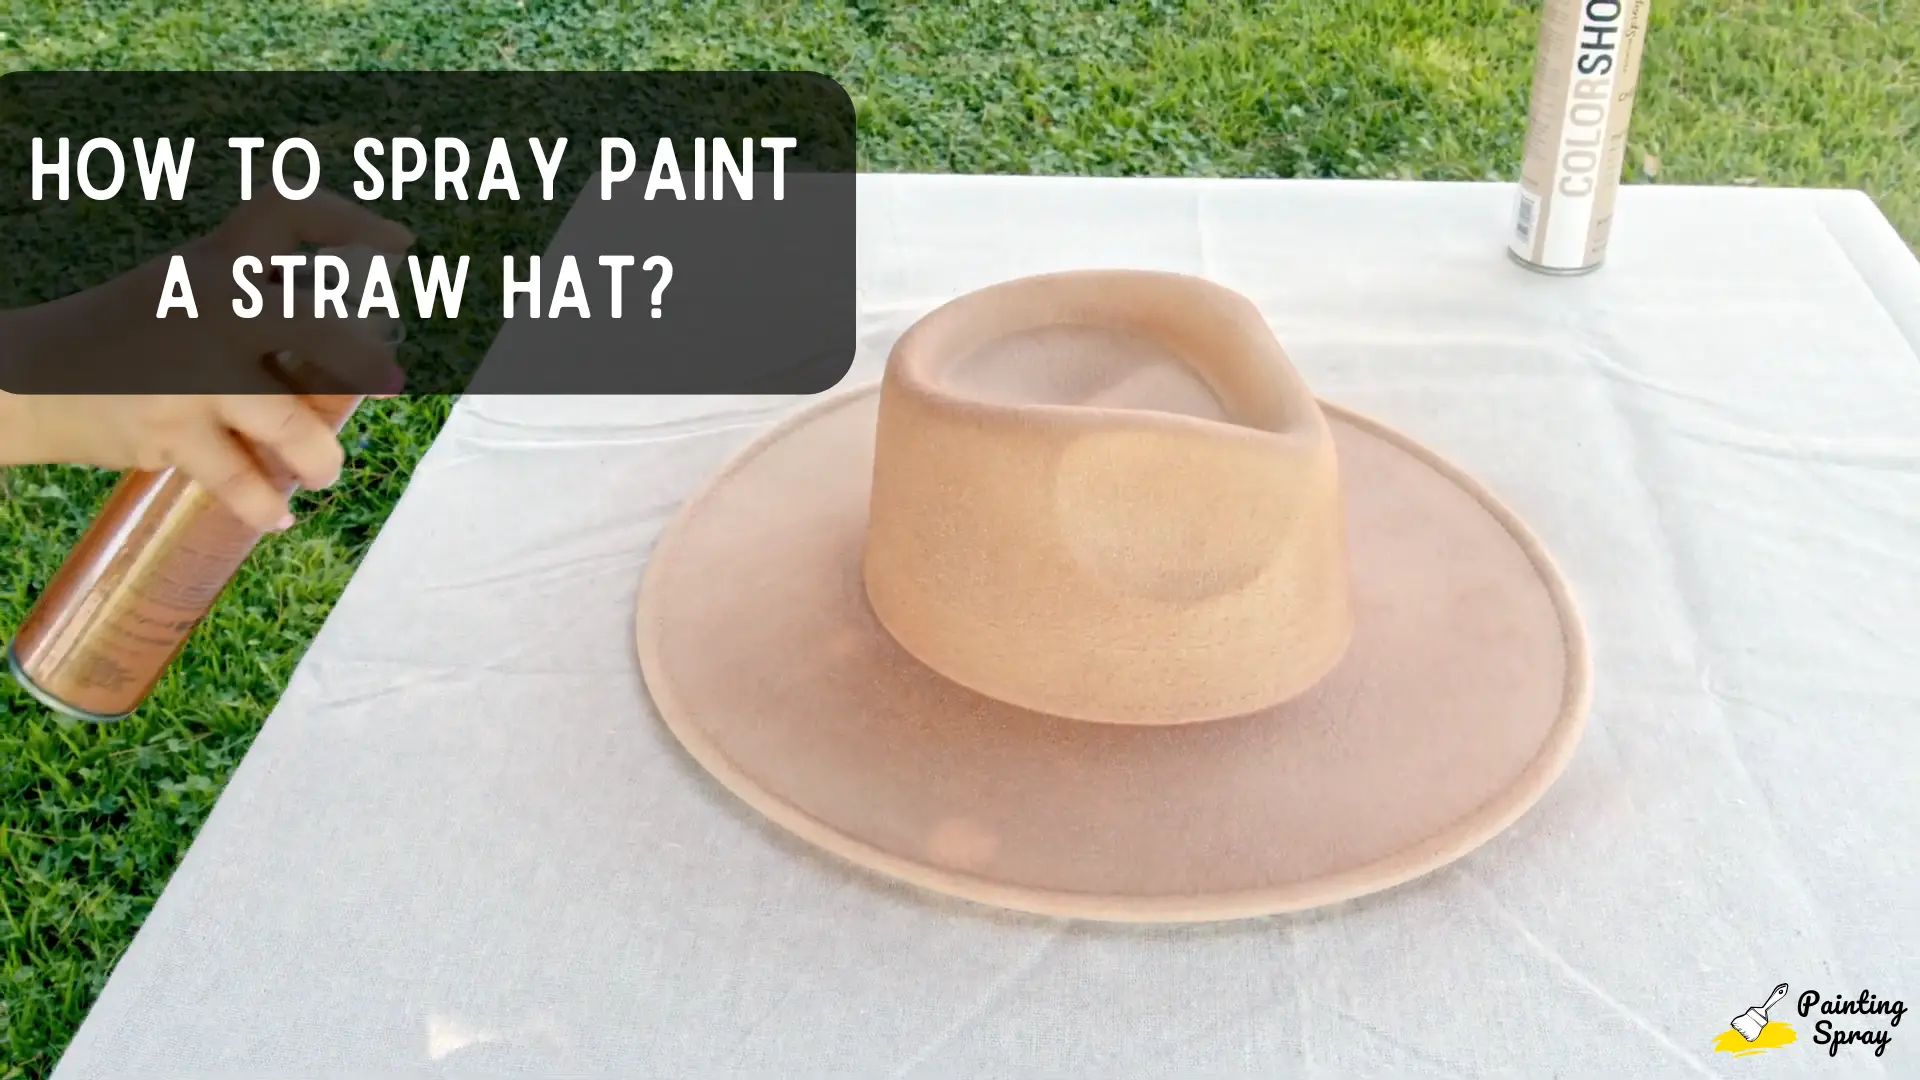
Spray painting a straw hat is an easy way to give it a fresh and unique look. To achieve the best results, choose paint made specifically for natural fibers like straw, as they ensure flexibility and durability.
Whether you want to change the color or add some personal flair, the process is straightforward with the right preparation and materials.
Before starting, make sure to work in a well-ventilated area to protect yourself from fumes. Cover the surrounding surfaces to prevent accidental overspray.
Once you have everything prepared, applying the paint is as simple as using even strokes from a distance to ensure a smooth finish. This guide will walk you through the essential steps, tips, and techniques to transform your straw hat effectively.
From choosing the proper paint to adding your own decorative touches, spray painting your straw hat can be a rewarding DIY project. By the end of this article, you’ll be ready to create a stylish accessory that reflects your personality and is perfect for any occasion.
Key Takeaways
- Choose the right spray paint for natural fibers for best results.
- Work in a well-ventilated space and prepare your area before painting.
- Personalize your hat with decorative touches for a unique style.
Preparation and Safety
Before you start spray painting your straw hat, proper preparation and safety measures are crucial. Gathering the right materials and taking necessary precautions will ensure a successful project while keeping you safe.
Materials Needed
To begin, you’ll need a few essential materials:
- Spray Paint: Use paint that is suitable for fabric or flexible materials. This type adheres well to straw.
- Latex Gloves: Protect your hands from paint and chemicals.
- Safety Goggles: These will shield your eyes from spray mist and harmful particles.
- Drop Cloth or Newspaper: Lay this down to catch any overspray and keep your workspace clean.
- Masking Tape: Use this to cover any areas you don’t want to paint.
- Ventilated Area: A well-ventilated space will help disperse fumes.
Having all these materials ready will simplify the process and help you paint the hat effectively.
Safety Precautions
When spray painting, safety must be a top priority. Begin by wearing latex gloves to prevent skin contact with paint. This is important as some spray paints contain chemicals that can be harmful.
Next, always wear safety goggles to protect your eyes from spray mist. It’s easy to get paint where you don’t want it, and goggles can avoid irritation.
Make sure you are in a well-ventilated area. This will help reduce inhalation of fumes which can lead to headaches or nausea. If possible, work outdoors or in a garage with open doors and windows.
Lastly, consider wearing a mask to further protect against inhaling paint particles. Following these precautions will help you work safely and efficiently as you transform your straw hat.
Prime and Paint
To achieve a great look when spray painting your straw hat, it’s important to choose the right paint, properly prime the hat, and apply the paint in a specific way. Each step will ensure a smooth and lasting finish.
Choosing the Paint
Select a spray paint that is suitable for straw materials. Acrylic spray paint is a popular choice because it dries quickly and offers vibrant colors.
You might also consider fabric paints which are flexible and can withstand wear without cracking.
Look for paint designed for outdoor use if your hat will face sun or rain. Always check the label for instructions on surface preparation and dryness times to make sure your project goes smoothly.
Priming the Hat
Priming is a crucial step when spray painting a straw hat. It helps the paint stick better and improves the overall finish. Start by cleaning your hat to remove any dust or dirt.
Use a suitable primer spray that is compatible with the paint you’ve chosen. Spray it lightly, holding the can about 6-8 inches away from the surface. Make sure you cover all areas evenly.
Allow the primer to dry completely before you start painting; this usually takes a few minutes depending on the product used.
Applying the Paint
When it comes to applying the paint, use light, even coats. Hold the spray can 6-8 inches away from the hat, moving it back and forth. This technique helps to avoid drips and runs.
Start with a thin layer and let it dry before applying additional coats. Generally, two to three coats will give you the desired color and coverage.
Be patient and let each coat dry completely. Once finished, allow the hat to cure for a day to ensure the best adherence and finish.
Decorating and Personalizing
You can easily make your straw hat unique by adding accessories and creating custom designs. These steps will help you express your style and personalize your hat.
Adding Accessories
One great way to decorate your straw hat is by adding accessories. Consider using pompom trim, which can bring a fun and playful touch. You can attach it around the brim or at the base of the crown.
To secure your trim, use a hot glue gun for a strong hold. Start by measuring the length you need and cut it to size. Apply glue in sections to avoid a messy appearance.
Other options include adding ribbons, flowers, or beads. These can be easily glued or sewn in place. Experiment with different color combinations for a vibrant look.
Custom Designs
Creating custom designs on your hat allows for more personal expression. You can use craft paint to add patterns or images. Before you start, make sure to choose a paint that works well with straw materials.
Use a stencil or freehand your design. Start with lighter colors, allowing them to dry before adding darker shades. This helps to achieve a layered effect.
Consider incorporating shapes like stripes or polka dots. Once your design is complete, seal it with a clear spray to protect your artwork.
With these techniques, your hat will stand out and reflect your individuality.
Finishing Touches
After painting your straw hat, it’s important to focus on getting the right color and ensuring that your hat dries properly. These finishing touches will help you achieve a long-lasting and professional look.
Fixing the Color
If you notice that some areas of your hat are uneven in color, you can use a color fixative to enhance the finish. This product helps seal the paint and ensures uniformity.
To fix the color:
- Let the first coat dry completely.
- Apply a second coat of spray paint if needed. Make sure to choose a shade that matches or complements the initial layer.
- Test the color on a small, inconspicuous area first.
For an added touch, you can also consider using liquid dye. This method can deepen certain hues or add unique shading effects. Check compatibility with your spray paint to avoid unwanted reactions.
Curing and Drying
Proper curing and drying are crucial to maintaining your hat’s appearance. After finishing your painting, let your hat dry for at least 24 hours in a warm, dry area.
Avoid direct sunlight, as this may cause fading. A cool area with good airflow is ideal.
Once the hat is dry, check the finish. If you used a color fixative, follow the instructions on drying times to ensure everything sets well. Your painted straw hat will be more durable and vibrant when you take these steps.
Frequently Asked Questions
When spray painting a straw hat, you may have several questions about the best methods and materials. This section addresses common concerns to help you achieve the best results.

