How to Spray Paint Stencils on Wood: A Step-by-Step Guide for Perfect Results
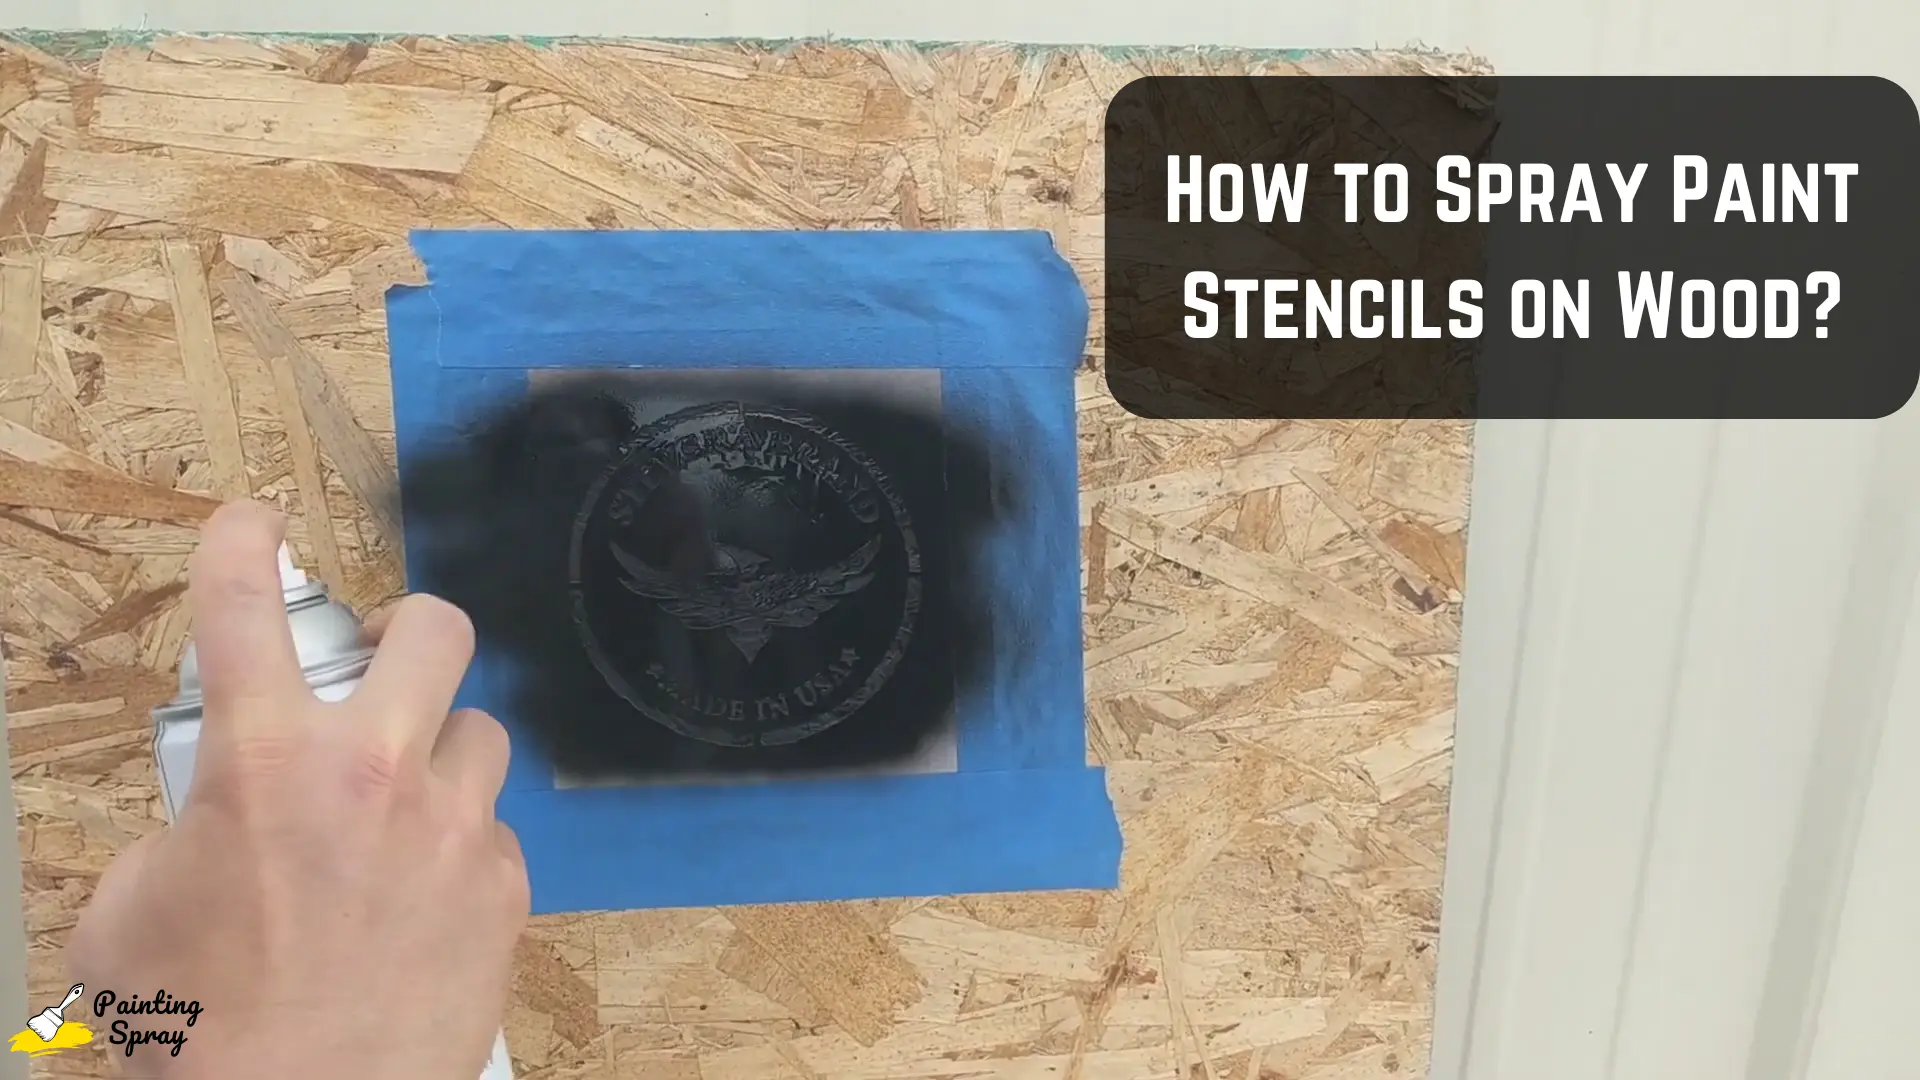
Spray painting stencils on wood can transform a simple piece into a beautiful work of art. To achieve the best results, you need to properly prepare both your wood surface and your stencils before applying paint.
This method not only saves time but also ensures that your designs are sharp and professional-looking.
Choosing the right paint and technique is crucial for a successful project. Using a repositionable adhesive on your stencil will help keep it in place and prevent paint from leaking underneath.
With the right approach, you’ll find this craft to be enjoyable and rewarding, allowing you to create stunning home decor or personalized gifts.
Getting started is easier than you might think, whether you’re a novice or an experienced crafter. By following the right steps and tips, you can ensure your stencil painting experience is smooth and satisfying.
Key Takeaways
- Prepare your wood and stencils to ensure clean lines.
- Use repositionable adhesive for better stencil placement.
- Follow proper painting techniques for a professional finish.
Preparation of Wood and Stencils
Preparing your wood and stencils is essential for a successful spray painting project.
Proper preparation ensures that your stencil designs come out clean and vibrant on your wooden surface. Here’s what you need to consider.
Choosing Appropriate Wood and Materials
Select wood that is smooth and free from defects, such as cracks and rough patches. Good choices include plywood, MDF, or smooth reclaimed wood. Avoid uneven surfaces like old barn wood unless you want a rustic look.
Gather materials like spray paint, repositionable spray adhesive, and your stencil.
The adhesive will help keep the stencil in place and prevent paint from bleeding beneath it. Always test your materials on a small scrap piece to see how they work together.
Prepping Wood for Painting
Start by cleaning the surface of the wood. Use a mild soap and water solution to remove dust and dirt. Dry the wood completely afterward.
Sand the surface with fine-grit sandpaper to achieve a smooth finish. This step is critical as it helps the paint adhere better.
After sanding, wipe the wood with a damp cloth to remove any dust. If desired, apply a primer to enhance paint adhesion and durability.
Selecting and Preparing Your Stencil
Choose a stencil design that fits your project well. Consider the size and detail of the stencil. Simple designs work best on uneven surfaces.
Before use, check your stencil for any damage. If the stencil is made from a flexible material, ensure it lies flat against the wood.
Spray a light layer of repositionable spray adhesive on the back of the stencil. This will hold it in place while you paint, keeping your design sharp and clean.
Stencil Application Techniques
When you stencil on wood, using the right application techniques is crucial. You want to ensure that your stencils stay in place, avoid paint bleed, and achieve even coverage for sharp, clean lines.
Applying Adhesive for Stencil Placement
To ensure that your stencil stays in the right spot, consider using repositionable stencil spray. This type of adhesive allows you to easily move the stencil without damaging your project.
- Clean the Surface: Make sure the wood surface is clean and dry.
- Spray Evenly: Hold the spray can about 6-12 inches away from the stencil. Spray lightly on the back to create a thin layer of adhesive.
- Firmly Press Down: Place the stencil on the wood and press down firmly to avoid any air pockets.
Using adhesive helps in achieving perfect stencil lines, keeping your design crisp and clear.
Preventing Paint Bleed
Paint bleed can ruin your stenciling efforts, making it essential to take steps to prevent it. One common method is to use a dry brush technique or a sponge.
- Use Less Paint: Start with minimal amounts of paint on your brush or sponge. It’s better to layer than to apply too much at once.
- Blot Excess Paint: Before applying to the stencil, dab your brush or sponge on a paper towel to remove excess paint.
- Angle of Application: Apply paint straight down rather than at an angle. This helps keep paint from seeping under the stencil.
Consider also sealing your wood with Mod Podge before stenciling. This creates a barrier that helps minimize bleed.
Achieving Even Coverage
For even coverage, choosing the right type of paint and application tool is important.
- Select the Right Paint: Use acrylic or spray paint designed for crafts. These types provide good coverage and adhere well to wood.
- Use Appropriate Tools: Flat brushes or foam rollers can help achieve even distribution. For intricate designs, smaller brushes work best.
- Layering Technique: Apply multiple thin coats rather than one thick layer. This approach minimizes drips and helps with even texture.
Taking these steps will give you a smooth finish and vibrant color, enhancing the overall look of your stenciled project.
Painting Process and Tips
When painting stencils on wood, the right materials and techniques are crucial for a clean finish.
Key aspects include selecting the correct paint and mastering the application method. Here’s how to achieve great results.
Choosing the Right Paint
Select a paint that works well with your project. Spray paint is often preferred because it provides a smooth, even coat and dries quickly. Look for paints specifically designed for wood surfaces.
Chalk paint and latex paint are also good options, especially if you want a matte finish. Different finishes impact the final look, so consider whether you need durability or a soft texture.
If using craft paints, use a high-quality brand to prevent issues like fading. Always test your paint choice on a scrap piece of wood to ensure you achieve the desired effect.
Spray Paint Application
To start, shake the can of spray paint thoroughly. Hold it about 6 to 12 inches from the stencil.
Light, even coats will help prevent the paint from bleeding under the stencil. Apply the paint in a sweeping motion, moving back and forth over the stencil.
It’s better to apply several light layers than one heavy layer. After the first coat dries, assess if you need another layer for full coverage. Always be cautious of wind or drafts, as these can affect how the paint is applied.
If you do experience stencil bleed, you may use a thin brush to carefully fix the areas once the paint has dried.
Touch-Up Techniques
After your design dries, inspect for missed areas or paint bleed. Use a stencil brush to fix small mistakes easily. This method allows for greater control and precision.
For touch-ups, dab the brush lightly into paint and apply it gently to the affected area. If paint still bleeds through, consider using a fixative or sealant after touch-ups for better durability.
Always keep a small container of the original paint mix handy for seamless corrections. Patience is key when refining your work, so take your time to ensure clean lines and a professional look.
Post-Painting and Finishing Touches
After completing your stencil project, it’s important to ensure your design looks polished and lasts. This section covers how to carefully remove the stencil, cure and seal the paint, and clean the stencils for future use.
Removing the Stencil
Once the paint is dry to the touch, gently peel away the stencil. Start at one corner and lift slowly to avoid smudging the paint.
If you notice any paint bleeding under the stencil edges, use a toothpick to carefully scrape away excess paint for clean lines.
If you used painter’s tape, remove it while the paint is still slightly wet to ensure sharp edges.
Take your time to avoid tearing the stencil, especially if you plan to reuse it. This step is crucial for achieving a hand-painted look.
Curing and Sealing the Paint
After removing the stencil, let the paint cure fully. Curing times may vary based on the type of paint used. Generally, it’s best to wait at least 24 hours before the next step.
Once cured, consider sealing your design with a clear topcoat. This adds protection from scratches and fading.
Choose a sealer compatible with your paint type, like a spray sealer for acrylic or latex paint. Apply in light, even coats to prevent any dull spots on your stenciled design.
Cleaning and Storing Stencils for Reuse
Proper care of your stencils is essential for future projects. Wash paint off your stencils immediately after use, using warm soapy water and a soft sponge. Avoid scrubbing too hard to prevent damage.
Once cleaned, dry your stencils completely to avoid warping. Store them flat in a cool, dry place. Consider using a folder or binder to protect delicate designs.
Keeping your stencils in good shape allows you to use them for many more stencil hacks and creative projects.
Frequently Asked Questions
This section addresses common questions related to spraying paint on stencils applied to wood surfaces. It covers techniques to prevent bleeding, preparation steps, paint types, and ensuring proper stencil adherence for the best results.

