How to Spray Paint Patio Furniture: A Step-by-Step Guide for a Fresh Look
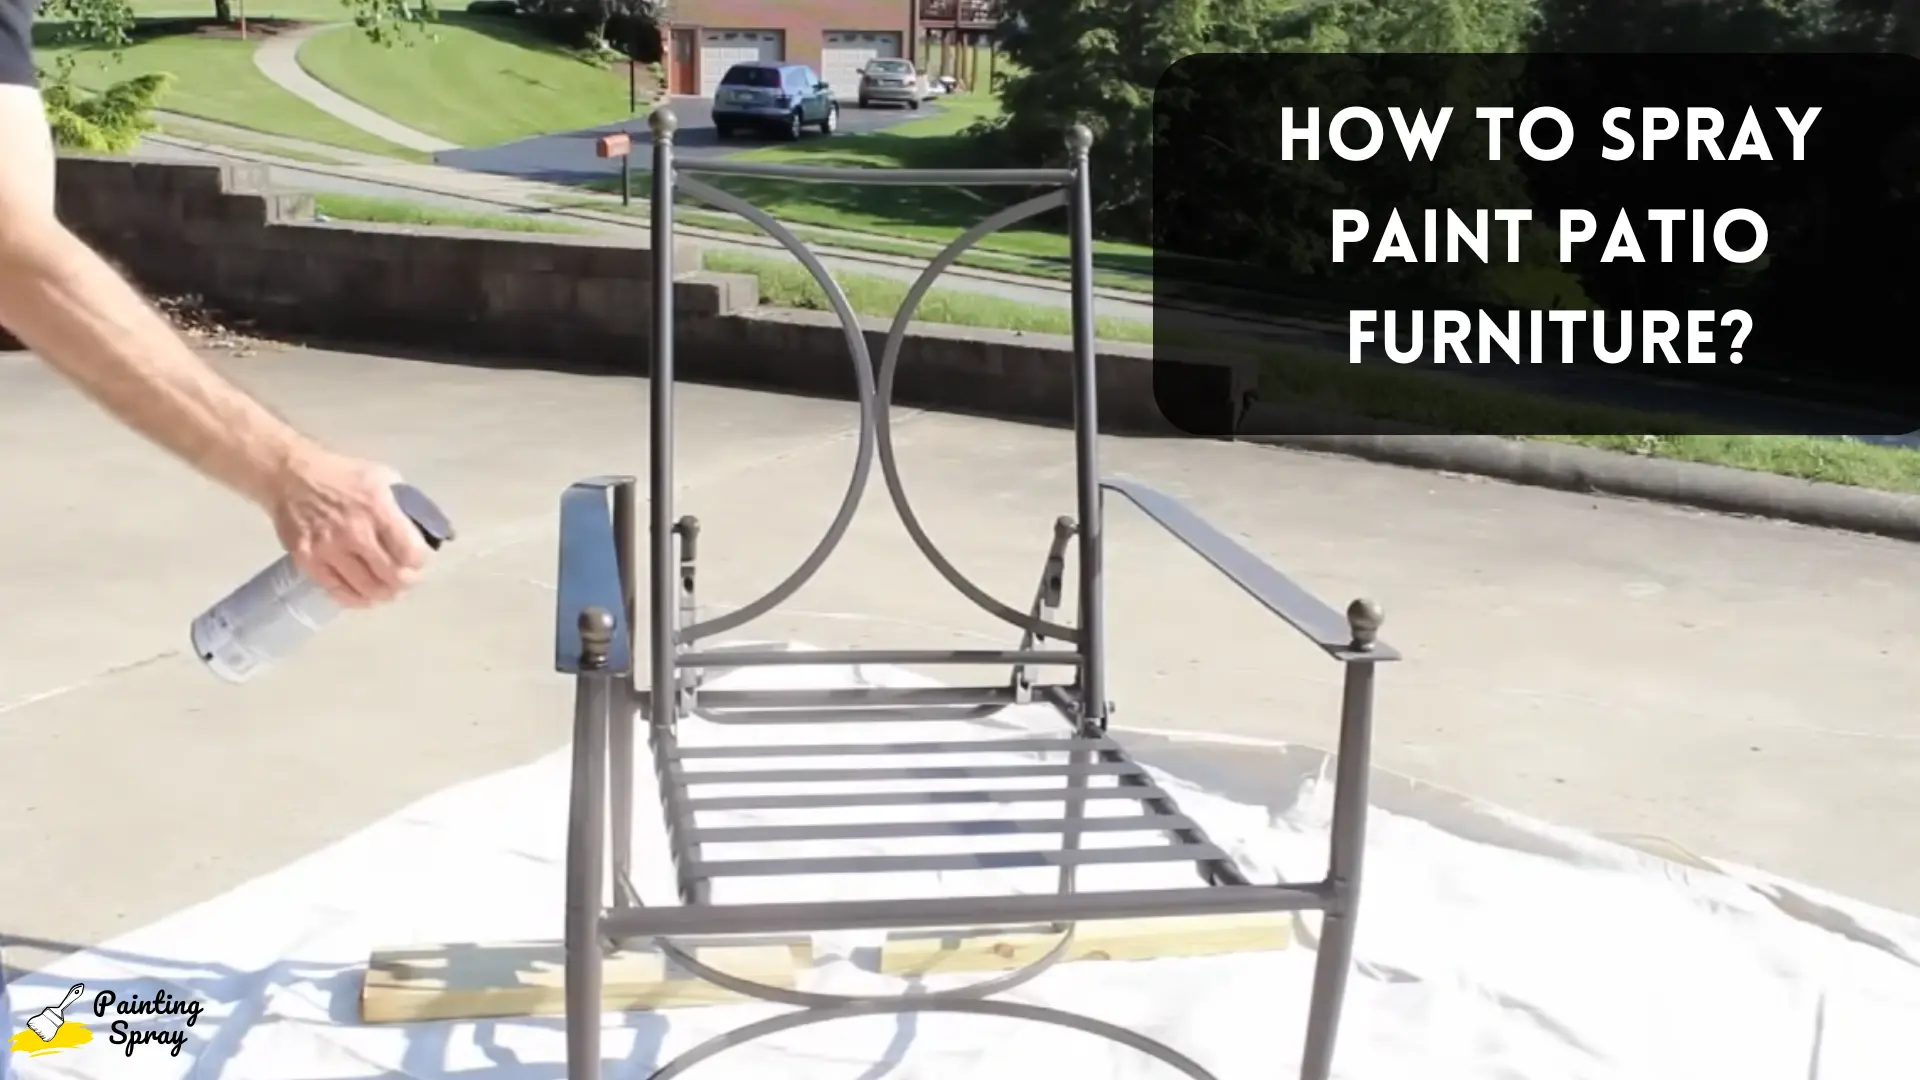
Spray painting your patio furniture is a smart way to revive its look without spending a lot of money. To achieve the best results, start by properly preparing your furniture and choosing the right spray paint for outdoor use.
This process not only updates the style of your outdoor space but also protects your furniture from weather damage.
You’ll want to make sure your furniture is clean and free of rust or old paint before you begin.
Picking the right materials will make a huge difference in the final result. Not only does spray paint offer a smooth finish, but it also allows for quick application, making your project feel manageable even if you’re short on time.
Once your furniture is prepped and you have chosen your supplies, applying the paint is straightforward.
After a few careful steps, your patio furniture can have a fresh and vibrant look that transforms your outdoor area.
Key Takeaways
- Proper preparation is key to a successful spray paint project.
- Selecting the right materials ensures a lasting finish.
- Regular maintenance keeps your patio furniture looking great.
Preparing Your Patio Furniture
Getting your patio furniture ready for spray painting is a key step in achieving a professional-looking finish.
This process involves assessing the furniture’s condition, cleaning and sanding it properly, and setting up a suitable workspace for safe and effective painting.
Assessing the Furniture’s Condition
Before you start, take a close look at your outdoor furniture. Identify any rust spots or peeling paint that may need repair.
For metal furniture, check for corrosion, as this can affect the paint’s adhesion. If the furniture is made of resin, look for cracks or fading.
Make a list of repairs needed. This might include removing old paint or fixing structural issues. Addressing these problems upfront will ensure your paint job lasts longer and looks better.
Cleaning and Sanding
Cleaning is an essential part of preparation. Remove any dirt, dust, or debris using a soft brush or a cloth. Make sure to scrub areas with stubborn grime. This helps the paint adhere to the surface effectively.
After cleaning, use sandpaper to smooth out peeling paint and rusted areas. Sanding rough spots helps create an even surface. For best results, wipe down the furniture with a damp cloth after sanding to remove dust particles.
Setting Up the Workspace
Choose an outdoor area with good ventilation for spray painting. This is important to avoid inhaling fumes. Make sure the space is flat and free of obstructions. Lay down a drop cloth to protect the ground from paint splatter.
Gather all necessary materials, including your spray paint, a mask, gloves, and any tools for repairs. Position your furniture so you can easily reach all areas without straining. This setup helps you work more efficiently and safely.
Selecting the Right Materials
To achieve a successful spray painting project, you must choose the right spray paint and gather the necessary supplies. This ensures a smooth process and a great finish on your patio furniture.
Choosing the Best Spray Paint
Choosing the right spray paint is crucial for a durable and attractive finish. Consider the following factors:
- Material Compatibility: Ensure your spray paint is designed for the material of your furniture, whether it’s wood, metal, or plastic.
- Weather Resistance: Look for paint labeled as outdoor or weather-resistant. This helps your paint withstand rain and sunlight.
- Finish Type: Decide whether you want a glossy, satin, or matte finish. Glossy paints offer a shiny look, while matte paints provide a more subtle appearance.
- Best Spray Paint Brands: Some dependable brands include Rust-Oleum and Krylon. These offer good coverage, vibrant colors, and durability.
Always read product labels for specific instructions on application and drying times for the best results.
Additional Supplies Needed
Besides spray paint, having other supplies makes your project easier and safer.
- Protective Gear: Wear gloves to protect your hands from paint, and use safety glasses or goggles to shield your eyes from overspray.
- Drop Cloths: Place drop cloths on the ground to catch any paint drips or overspray. This keeps your working area clean.
- Masking Tape: Use masking tape to cover areas you do not want to paint. This ensures clean edges and professional results.
- Sandpaper: If your furniture has peeling paint or rough spots, use sandpaper before painting for a smooth surface.
Gathering these materials will help you prepare your furniture and achieve a polished look.
Applying Spray Paint
Applying spray paint correctly can dramatically improve your patio furniture’s appearance.
This process includes priming the surface, using effective spray painting techniques, applying multiple thin coats, and ensuring proper drying between layers.
Priming the Surface
Before you apply spray paint, prepare the surface. Begin by cleaning your patio furniture thoroughly.
Remove any dirt, grease, or old paint using a wire brush or power washer. After cleaning, let the furniture dry completely.
Next, apply a primer designed for metal surfaces. A primer helps the paint stick better and improves durability. Choose a spray primer for easy application. Hold the can 10-12 inches away and apply a light, even coat.
Make sure to cover all areas, including hard-to-reach spots. Allow the primer to dry per the manufacturer’s recommendations before moving on.
Spray Painting Techniques
When you start spray painting, use proper techniques for the best results. Shake the spray paint can for at least one minute to mix the contents well. Test the spray on a piece of cardboard to ensure a smooth spray pattern.
Hold the can 10-12 inches from the surface. Begin spraying off the edge of the furniture and move your hand steadily across it. Avoid tilting the can as this can lead to uneven layers or drips.
Use a sweeping motion to cover the entire area, overlapping each pass slightly. This will help in achieving an even finish.
Applying Multiple Thin Coats
It is essential to apply multiple thin coats of paint instead of one thick layer. Thick layers take longer to dry and are more prone to drips and imperfections.
Apply the first coat lightly and evenly. Allow it to dry completely according to the paint label instructions, usually about 15-30 minutes.
After the first coat is dry, inspect the surface. If you see any rough spots or missed areas, lightly sand them before applying the next coat.
Follow the same technique as before, making sure to maintain the correct distance from the surface. Generally, 2-3 thin coats will give you a nice, glossy finish.
Drying and Applying Second Coat
After applying the first coat, drying is critical. Follow the paint manufacturer’s guidelines for drying times. Ensure that the environment is well-ventilated to aid the drying process.
Once the first coat is dry, apply the second coat. Again, use light and even strokes to avoid runs or drips.
If you skipped sanding after the first coat, now is a good time for a light sanding to make the second layer adhere better.
After finishing the second coat, allow it to dry thoroughly. Depending on humidity and temperature, the drying time can vary.
Wait until the surface feels dry to the touch before using your furniture. This will help achieve the best appearance and durability for your patio furniture.
Final Touches and Maintenance
After you finish painting, there are essential steps to ensure your patio furniture looks great and lasts long. This includes assessing the final coats, taking protective measures, and maintaining the painted furniture regularly.
Assessing the Final Coats
Once the paint has dried, it’s crucial to check the final coats for any imperfections. Look for areas where the paint may need touch-ups, especially corners and edges.
If you find uneven spots or drips, lightly sand the area with fine-grit sandpaper before applying a thin layer of paint to repair them.
For the best results, consider using a high-quality outdoor paint like Rust-Oleum, especially on wrought iron patio furniture.
Choosing a durable black paint not only enhances its aesthetic but also protects against rust. Allow the touch-up paint to cure completely.
Protective Measures
To keep your outdoor metal furniture safe from the elements, you should apply protective measures.
Start by adding a clear sealant designed for outdoor use. This adds a layer of protection against moisture and UV rays, extending the life of the paint.
Store your furniture in a covered area when not in use. If that’s not possible, use furniture covers that are breathable.
Avoid using plastic covers, as they can trap moisture, leading to rust. Regularly inspect your furniture for signs of wear or damage and reapply protective coatings as necessary.
Maintaining Painted Furniture
Regular maintenance is key to keeping your painted furniture looking new. Clean your patio furniture every few weeks with a gentle soap and water solution. Avoid harsh chemicals that might damage the paint.
If you notice dirt or grime buildup, use a soft cloth or sponge for detailed cleaning. For tougher stains, a mixture of vinegar and water works well.
Inspect the furniture periodically for signs of rust or chipping paint. Address any issues immediately.
Reapply Rust-Oleum paint as needed to maintain durability and protect your outdoor space. Keeping up with these maintenance tasks will help ensure longevity for your patio furniture.
Frequently Asked Questions
When spray painting patio furniture, you might have specific questions. Here are some common inquiries to help guide you through the process.

